06/13/13: A Raised Bed

The backyard needed a vegetable garden, but we weren't interested in cultivating our rock-hard clay soil. So on a warm day at the end of April, we bought lumber and supplies to build a 4'x6'x1'raised bed. We figured that buying the lumber and building the box ourselves would be cheaper than purchasing a kit (and we were right: total cost = ~$90). Plus, we could get the 12" depth necessary for tall veggies like carrots and helpful for avoiding growing into polluted Pittsburgh soil. With lumber from the Allegheny Millwork here in Pittsburgh and some galvanized deck screws, we constructed the bed in the backyard:


Next we spread newspaper on the bottom of the box to smother out grass and weeds:


All that was easy; the real challenge was the soil, all 22 cubit feet of it!


The bed was filled with a mixture of vermiculite, a little bit of high-quality top soil, and three kinds of compost (cow manure, leaf mold, and mushroom soil). Then it was all stirred up and raked smooth:


Little by little I've been planting spring seeds--French breakfast and Easter egg radishes; several kinds of lettuce; Japanese mustard greens; Chioggia beets; and basil and tomato transplants. Along the north end I constructed a 6' tall trellis out of electrical conduit pipes and rebar, following the directions from Square Foot Gardening. (It's quite easy if you have someone at the hardware store cut the pipes for you.) Screw the corners together with elbow joints, attach some nylon netting, and your vegetables are ready to climb. Later in the summer (hopefully!) the lemon and Japanese cucumbers will scale that thing.

And here we are today, in mid-June:


06/13/13: The Dirt Patch

Last fall I was hatching plans to create a shade garden out of a dirt patch in the backyard, the site of the previous owners' play set. The area is almost fully under the drip line of our medium-sized oak tree, and the clay soil was very compacted from heavy foot traffic. Last fall we planted three conical yew bushes along the west side of the would-be bed. Someday they will grow 8ft tall to hide the neighbor's garage behind them. Here's the dirt patch earlier this spring, with our little yews and the oak tree.


After aerating the soul with a hand trowel (so as not to disturb the tree roots too much), I planted a mix of hostas and ferns, some of which we purchased online. (This was, incidentally, our first experience buying plants from the Internet.) From the good people at New Hampshire Hostas (who also sell ferns), we bought five hosta plants-- two Maui Buttercup, two Touch of Class, and one Blue Hawaii--and two plants each of Christmas Fern and Branford Beauty Painted Fern. To this we added two Japanese Painted Ferns, two Tassel Ferns, one Bressingham Blue hosta, and one Frances William hosta, all from the fairly decent people at Lowe's. After charting the bed out on graph paper, everything went into the ground, and the bed was mulched with cocoa hulls, a byproduct of the chocolate industry. As an added bonus, the whole backyard was perfumed with the scent of chocolate!

Here's the finished product, about 6 weeks after everything was planted:


11/22/12: The Little Room

There's this little room, a staircase really, leading from the kitchen to the basement. I had it in my head to put up some pegboard and turn it into extra kitchen storage. Easy, right? Here's the before:


Notice prime pegboard wall space on the left.


I had picked out a nice light green for the room. After priming and painting two coats of green, the walls bore a strong resemblance to neon barf. See for yourself, below. So, after agonizing about whether to go through the trouble of redoing it, I buckled down and got a can of white and started painting it all over again, for a grand total of five coats of paint (primer, two coats of barf, and two of white). The picture below shows the white going over the neon barf in one of the top corners:


 Right, so on to the pegboard. Scored some big sheets of new, khaki colored pegboard at our local used construction supply store for only $7/piece. But it turns out pegboard is fairly hard to cut with a circular saw, as we found out when we shredded and frayed the edges of our two nice pieces of pegboard. Just for fun, we took the hand saw to it, and, surprisingly, that worked great. So, off to construction supply for two more sheets of pegboard. And score one for the old-fashioned hand saw!


Using some 1x2's, we constructed a frame to set the pegboard away from the wall. Frame was then mounted to studs:


Who's that guy?

And finally, up went the pegboard, and all the pots and pans:


Gosh, Little Room, you were the smallest, but surely the fussiest.

11/01/12: Cider for All Saints

One of the perks of the house is the space in our basement to make hard cider. Cider-making was tricky in the cramped basement storage area of our apartment building. So, this afternoon, on our day off for the feast of All Saints, we picked up about 100 pounds of apples--Empire, McIntosh, and Idared--from an orchard north of Pittsburgh, and then had them pulped and squeezed at Sally's Cider Press in Zelienople, PA, about 45 minutes away:

You load the apples up a conveyor belt, where they're hosed down as they go up the chute:


Inside, they're ground to a pulp, which is flattened between several boards and then mechanically pressed:

There's Sally!

The juice flows down into a tank where it's pasteurized with UV light (just strong enough to kill E. coli but not all the naturally occurring wild yeasts and beneficial bacteria). We then fill some plastic gallon jugs with our cider through a spigot; today we had eight gallons--pretty sizable for 100 pounds of apples. At home, I tested the cider for acidity, soluble sugar, and pH, and then dumped it into jars and added sulfites. Cider and its accoutrements are now quite cozy in their dedicated basement area:


11/01/12: White stairs, finally . . .

Way back in July, we ripped out the carpet on the stairs and second-floor hallway, refinished the hardwoods underneath, and stripped the flaking paint from the stair risers. Well, it wasn't until recently that we got around to repainting those risers. We'd been living with stained, nasty looking wood for months (not to mention plaster patching all over the stairway walls):


Notice the quarter round, waiting to be reattached. (I ripped it out to insert some shims between the stairs to stop some insanely sharp creaking.)


 May I present Our New Stairs and Stairway Walls:

Notice Michael's expert quarter round cutting and installation skills.


11/01/12: Living Room. Finished.

We've finished painting quite a few rooms lately here at Mont d'Or Manor, the worst of which was the huge living room. Here again is the before view (with the mousey tan walls and our plaster patching everywhere):


We never liked the tan much; it clashed with the stained glass and the dark fireplace mantel. So, we redid it in Benjamin Moore's White Dove:


And now we have this:


09/27/12: New Kitchen Cabinet Hardware

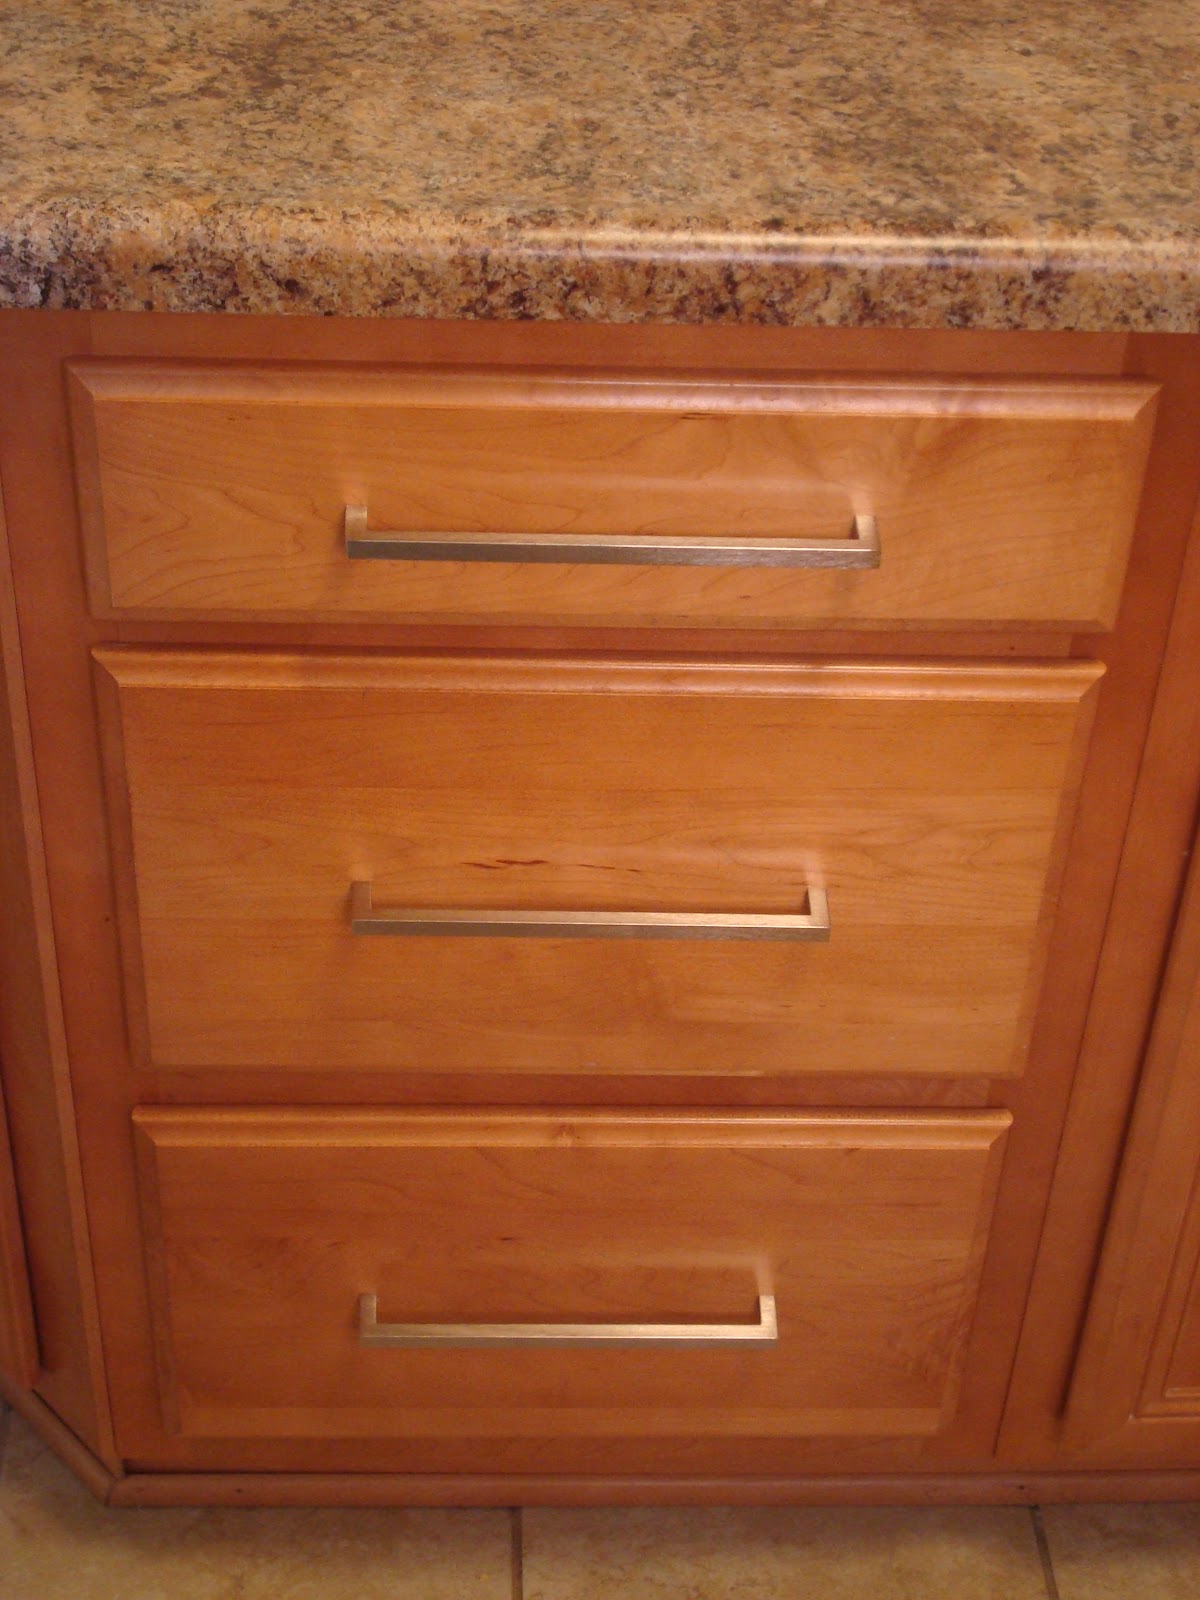
We were growing tired of trying to pry our kitchen drawers open from the edges---they were completely handleless when we moved in:

Riddle me this: how do I get you open?


???

And here's the old cabinet hardware. A little too 'spurs and jangles' for me:


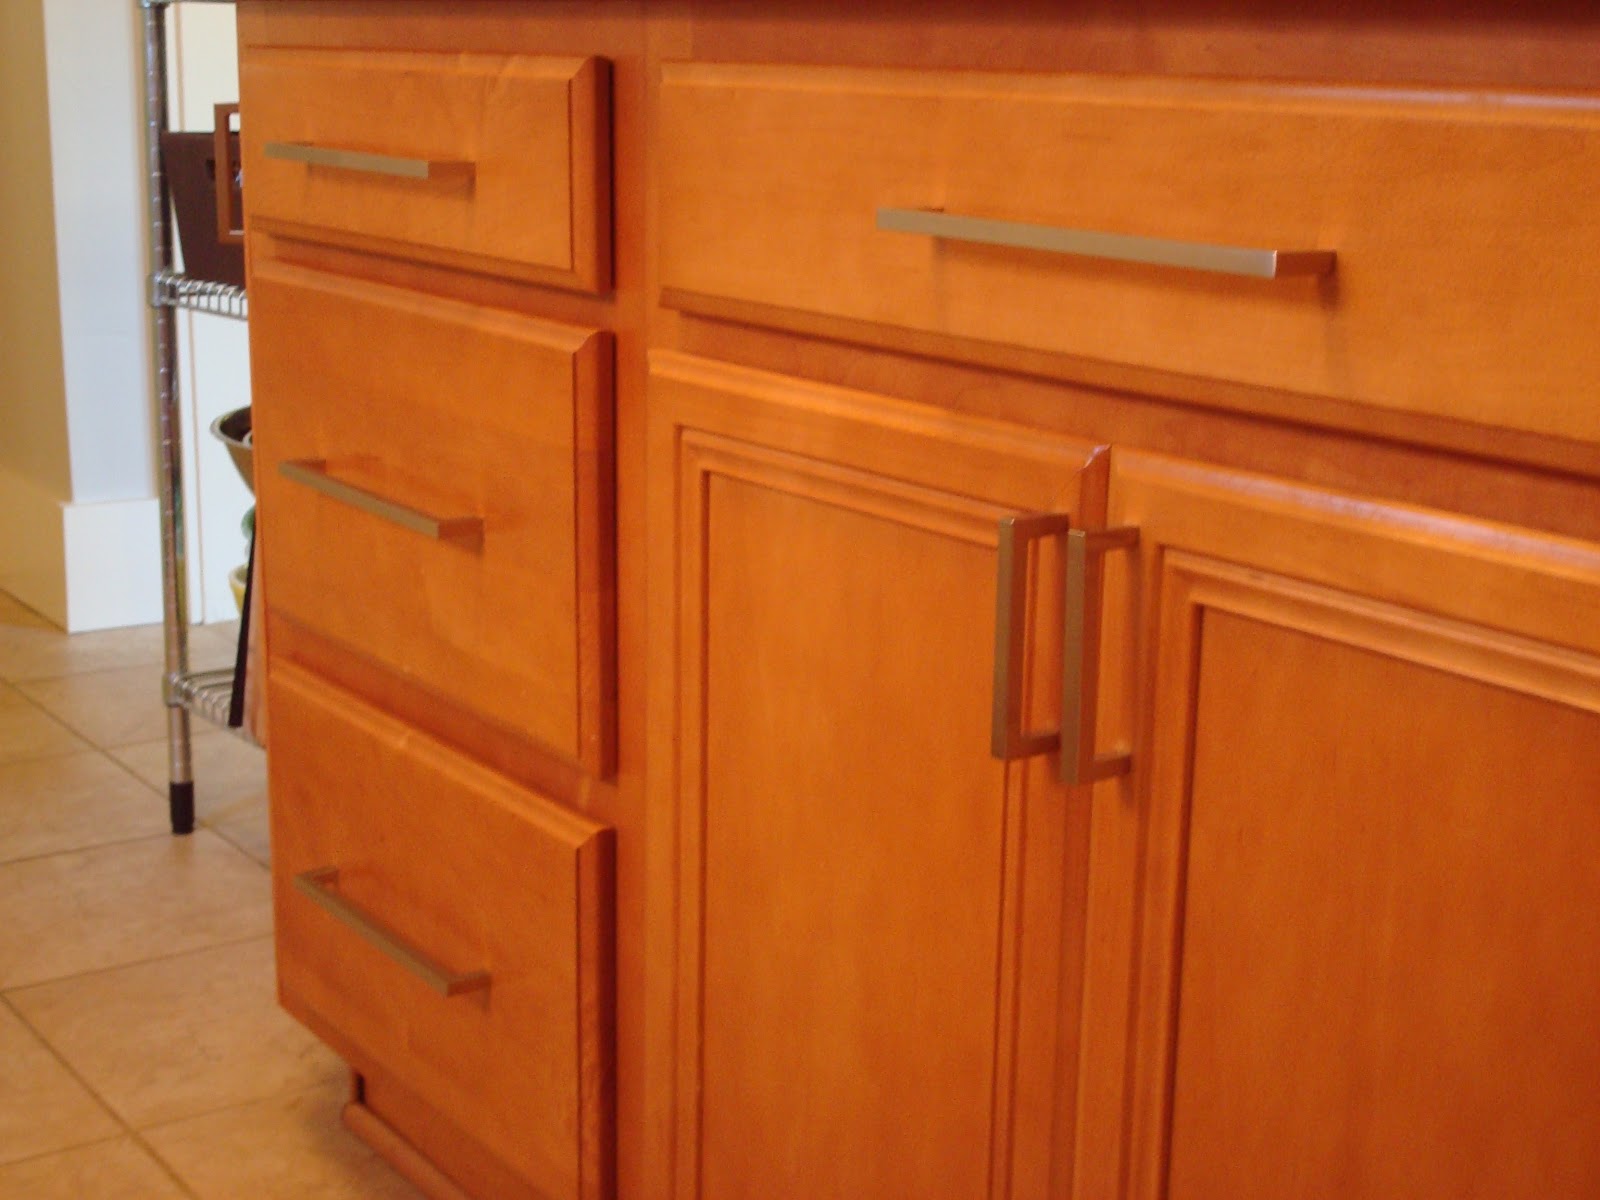
 So, we drilled new holes for the drawers and replaced the handles on all the cabinets:


Welcome to the 21st century, Handles.